
Global Design Project Guest Designer

 Being invited to be a guest designer for the Global Design Project is very exciting.  I had a gorgeous colour palette to create from - soft and subtle Lost Lagoon and Petal Pink with the 'zingy' Timid Tiger.


You can check out this page coming together over on YouTube:
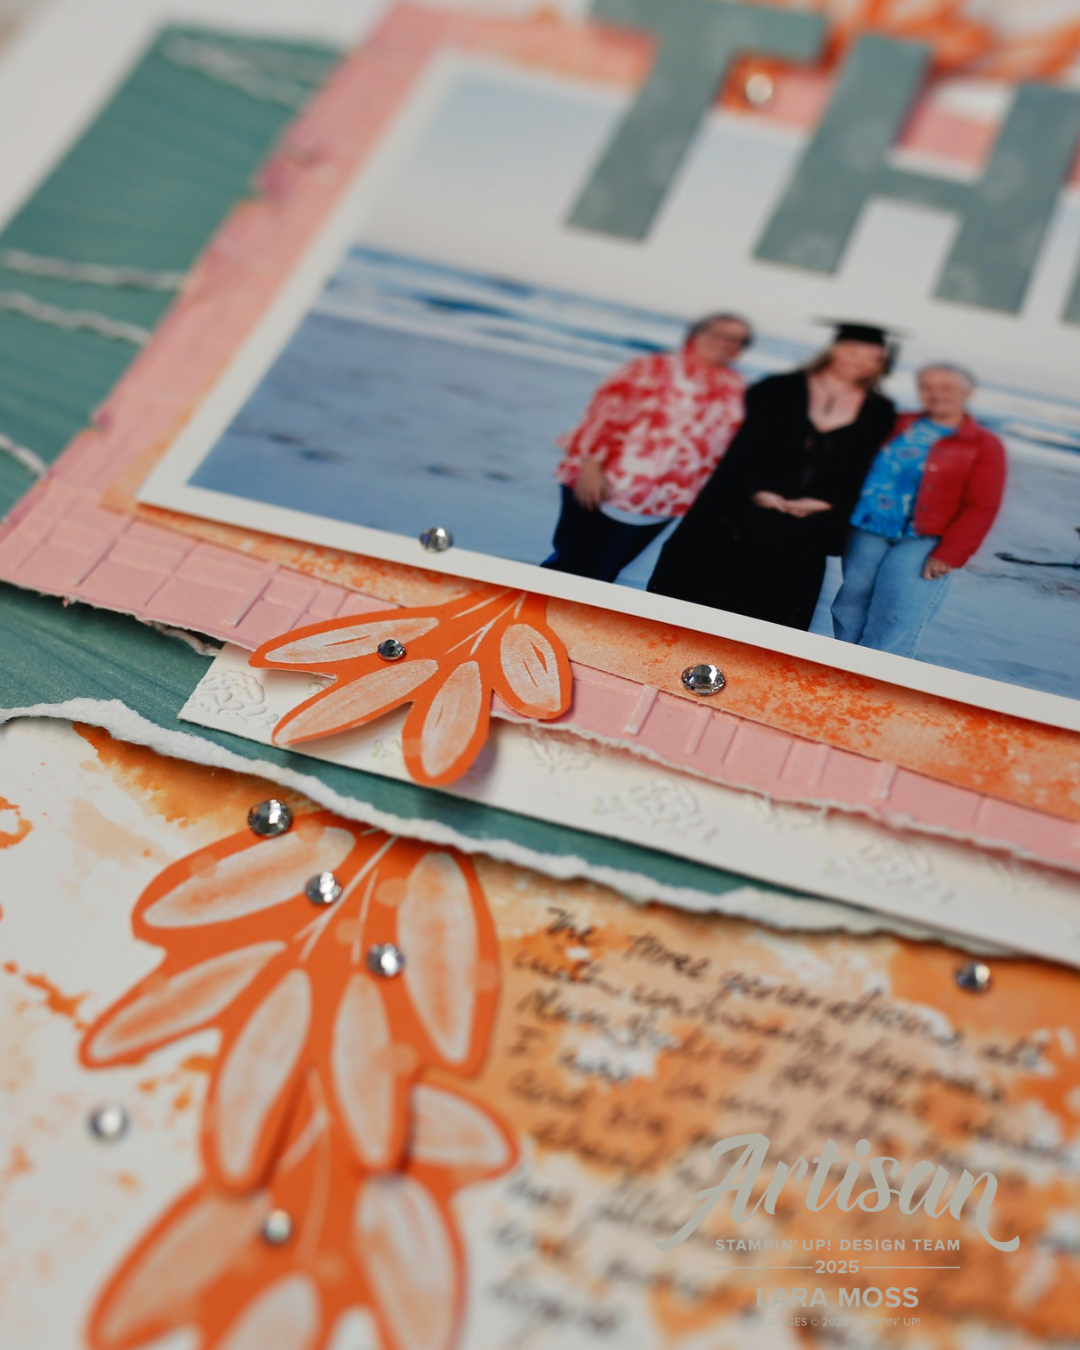


Supplies: Basic White Cardstock Two Tone Cardstocks: Petal Pink & Lost Lagoon Inks: Timid Tiger, Lost Lagoon, Petal PInk Patterned Paper Paper: 2025-2027 6 x 6 In Colour DSP Embossing folders: Soft Waves 3D Embossing Folder, Forever Plaid 3D Embossing Folder, Demask Designs Embossing folder Party Alphabet Dies TO SHOP all Stampin’ Up! products (if you are in New Zealand and don't have a Demonstrator yet) please check out my shop, Lara Moss, Independent Stampin' Up! Demonstrator: https://laramoss.stampinup.net/


Comments

Popular posts from this blog

New Grad

This month I used the 'Sunshine Vibes' bundle to create this layout for the Stampin' Up Artisan Design Team. Using die cuts to create stencils is a favourite way to create backgrounds for my scrapbook layouts. This bundle allowed me to do this and then to back some of the die cuts with in colour DSP.  Puffy hearts and fussy cut flowers add dimension. If you live in New Zealand and don't have a Stampin' Up! Demonstrator already and want the supplies I have used, please visit: https://laramoss.stampinup.net and head to the shop to look for: Sunshine Vibes Bundle Mini Alphabet Dies Florals in Bloom DSP

Prickly Pear Blog Hop

Welcome to our Prickly Pear Blog Hop! We will be showcasing items from our Prickly Pear Paper Pack with various projects created by talented Close to my Heart consultants. If you are visiting from Brittany's blog then you are on the right track, if not please start at the CTMH Blog Challenge and Support Group Blog Hop Guidelines beginning with our hostess Carol . Next check out Diana’s blog. I have loved working with Prickly Pear - these are my kind of colours! I opened this pack up at a Scrapbooking Retreat and used it for most of my layouts over the weekend. There were a few! I also used some of my left overs from this kit to make a couple of cards that you can see in my YouTube process video (skip to 5.23 if you don't want the Design Space instructions :-) Thanks for visiting - I'd love for your to comment so I know you have been here :-) Next check out Diana’s blog.

'Make a Memory Scrapbooking Kit

  This was an easy way to get lots of memory keeping done at a crop yesterday!  7 layouts created and I put together another one from the kit today.  There is still more left in the kit box to make 2 - 3 more layouts! I made a few additions - some stamping, splattering, stitching and threads to add some texture and background interest. Head to the shop to check out this kit!